It was the best of
pies, it was the worst of… wait?
Who’s ever heard of bad pie, let alone worst pie. There can
certainly be pie that is not as good as another, but never worst pie. Worst is too harsh a word to describe
such a wonderful thing. If you know me
personally you probably know how much I love pie, and over the past couple of
months have been working on perfecting my pie skills.
Practicing you ask?
Over the years pie has earned itself quite a reputation, and however
easy the guy on TV makes it look, it isn’t.
It was at a work luncheon a few months ago that I realized many people
don’t know the joy which is a homemade pie.
After the lunch dishes had been taken away we were each given a randomly
selected slice of pie on a Styrofoam plate when several people pushed it
away. Some even exclaimed, “ew, I don’t
like pie.” It could be easy to
understand why someone might not like pie if all they ever had was what comes
from the local supermarket; flat and bland crust, gummy processed fruit
filling, sandy crumble topping. With an
unending variety of forms and fillings I think it misjudging to make such a
broad statement. That person just needs
to find their pie.
And with that I present you with today’s (rather long)
entry; a duo of pies that couldn’t be more different, a tart and refreshing Key
Lime with graham cracker crust, followed by another southern classic with a
reputation as tough as the shell of its ingredients, a hard nut to crack it you
will, Pecan! (I will try and hold off on the nut puns, but no promises.)
Key Lime pie is actually incredibly easy to make, and can be
thrown together surprisingly quick.
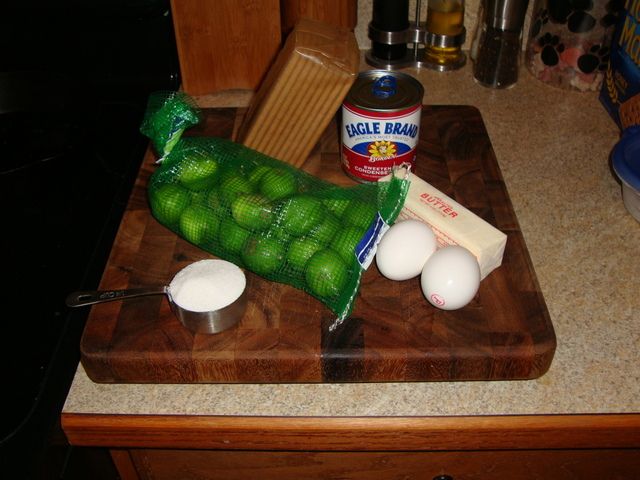
Here’s what you’ll need:
KEY LIME PIE
1 9 Inch pie plate
Crust:
Crust:
4 tablespoons (or a half-stick) unsalted butter -
melted
¼ cup white sugar
1 brick graham crackers
Dash of salt
Filling:
1 can sweetened condensed milk
1 lb fresh key limes – zest removed and juiced
(roughly ½ cup juice)
2 egg yolks
1. After
pre-heating your over to 350 degrees, we will prepare the wonderfully crumbly
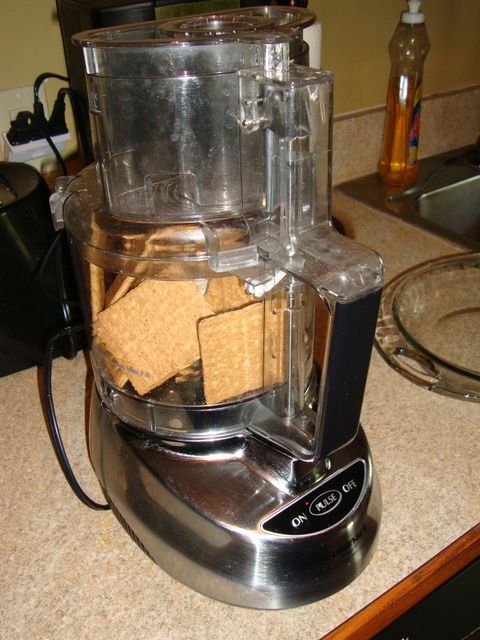
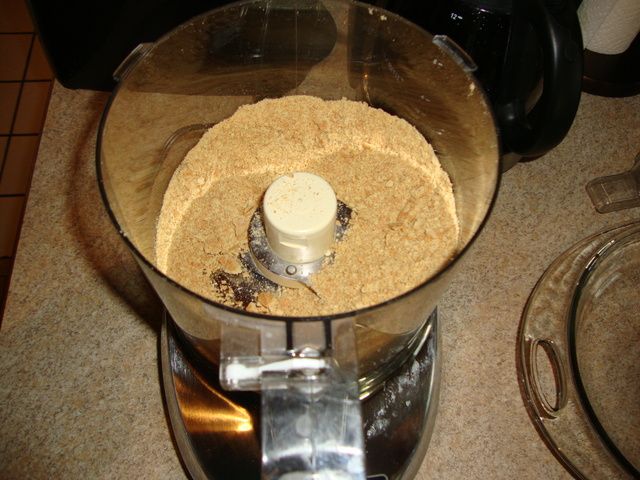
graham cracker crust; a classic when it comes to Key Lime pie. In your food processor, destroy your brick of
graham crackers. That’s right,
absolutely pulverize them. Then add the
sugar and dash of salt and pulse a few times to incorporate.
Absolutely pulverized
2. Toss the
crumbs into your pie plate and pour the melted butter over top. Stir together until fully incorporated, and
then press into the shape of the pie pan.
The wall needs to be around an inch in a half tall to hold all the
filling. Mine was too high, so after
filling I pressed it down for a better presentation.
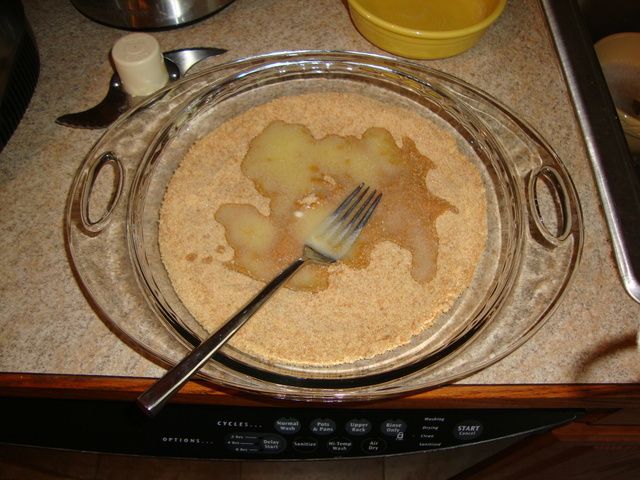
You can add more butter if it isn't coming together. Make adjustments! Recipes aren't chiseled in stone.
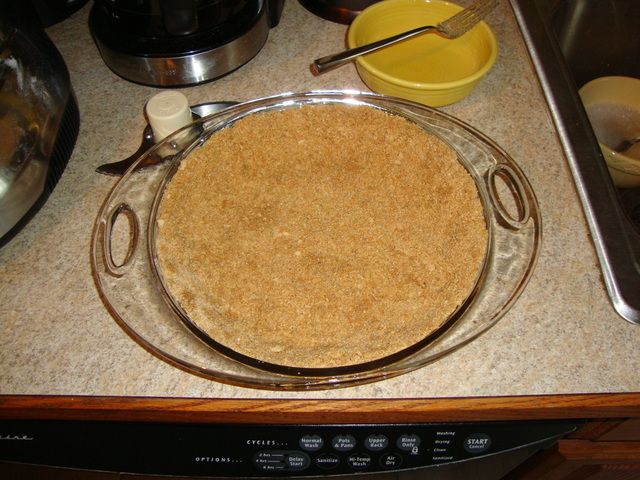
3. Toss the
crust in the oven for 7-8 minutes to brown and set.
4. Now for
the fun part, prepping the limes. The
first thing you will notice is that key limes are really small, and for somebody
with big hands like myself are a pain in the butt to work with. They are also delicious and worth every ounce
of trouble they bring. If you don’t live
in Florida and can’t get them locally you’ll also notice that they probably
have some brown spots on them. This is
fine. Wikipedia tells us that Key Limes
have thin skin and are highly perishable, so it is easy to understand why the ones
you just bought have some slight discoloration, which certainly doesn’t affect
the flavor. I begin by zesting the limes
using a Microplane; drawing them across the Microplane and avoiding the brown
spots, and also not going deep enough to remove the bitter and white pith. Cut the limes in half, and using a citrus
reamer harvest their souls… er… juice.
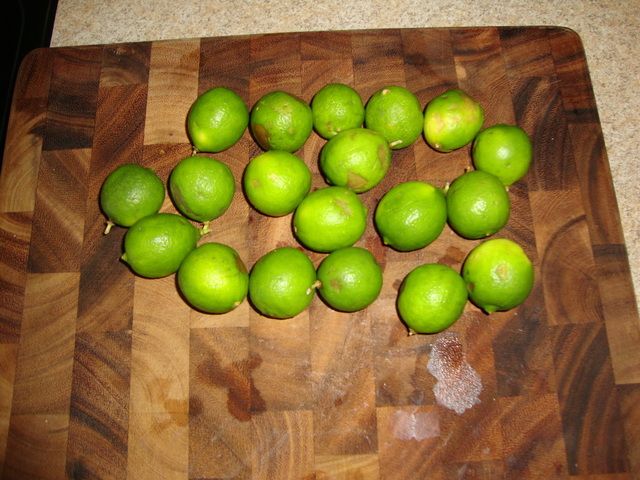
If they could speak they would be begging for mercy!
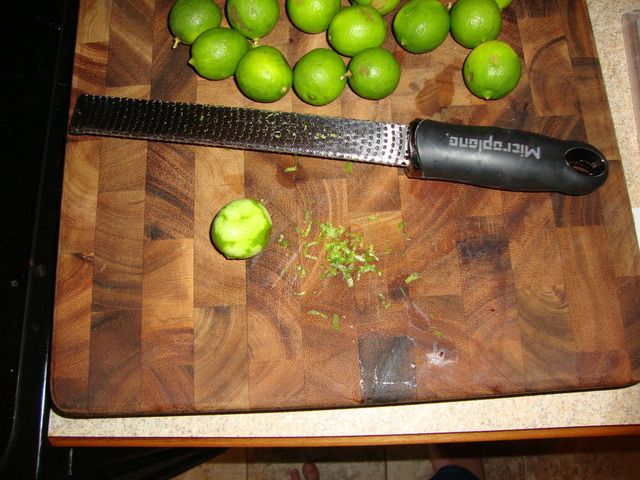
Make sure you keep the Microplane stationary and pull the lime across the grating surface
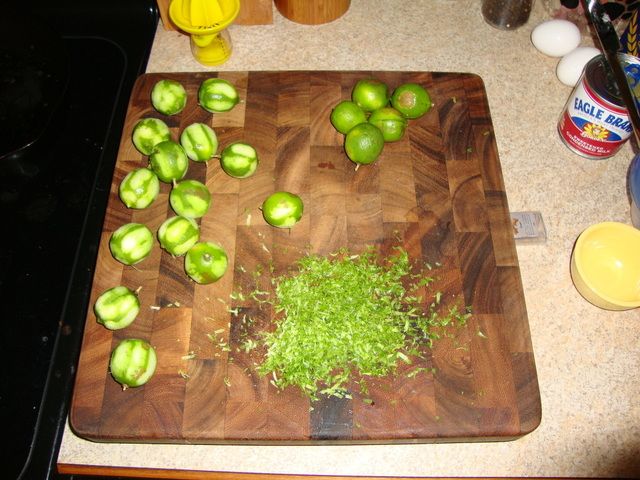
We're naked!
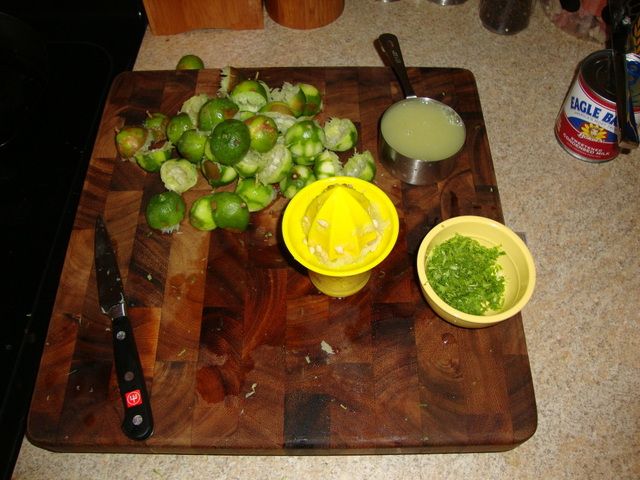
Whew. That was a lot of work.
5. Separate
your eggs. I save the whites in the
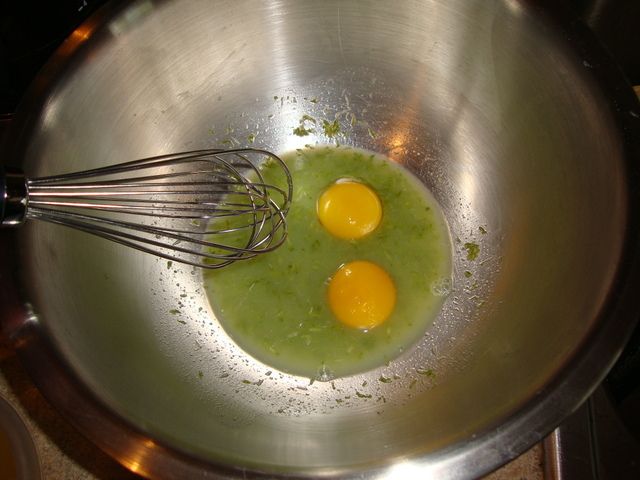
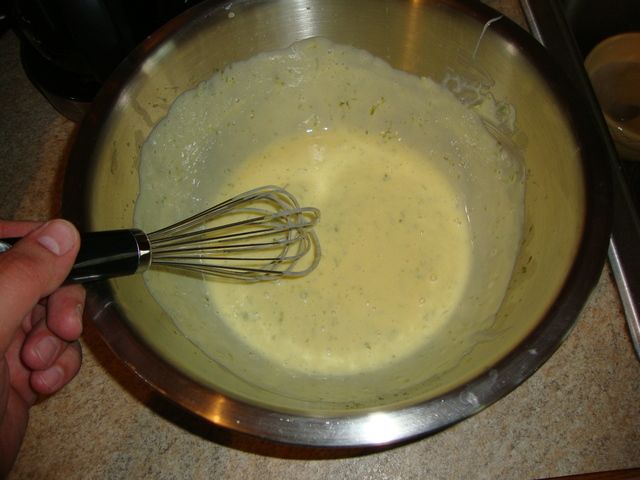
freezer for my wife, no use throwing away half of what you paid for. Combine egg yolks, sweetened condensed milk,
lime juice and zest and whisk briskly.
6. Pour
filling into baked crust and bake for 15 minutes, just long enough to get those
eggs cooked and harness their thickening power.
7. Serve with sweetened whipped cream (2 teaspoons
confectioners’ sugar, ½ tsp vanilla extract, 1 cup heavy cream beaten until
stiff.)
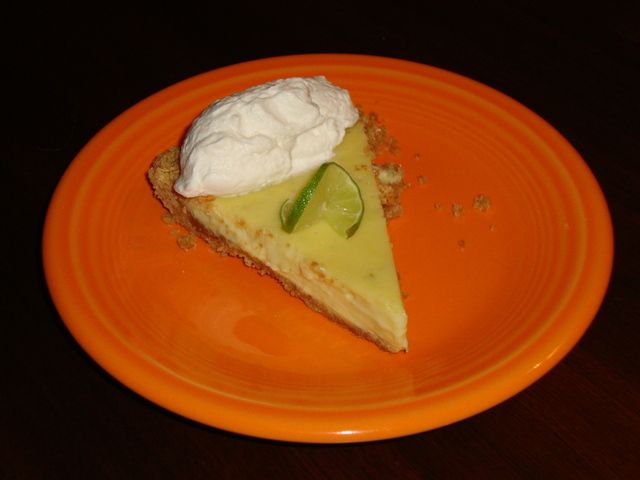
Yum!
This pie is the perfect way to wake up your taste
buds for the fresh flavors coming this summer.
The key limes bring a wonderfully bright flavor that isn’t quite as
harsh as your generic lime, and the sweetened graham cracker crust plays off
the sour filling. The taste of the
tropics right here in Ohio. Remember
what I said about traveling somewhere on the cheap? Close your eyes while eating this pie and you
almost feel like you’re sitting on the beach.
For pie number two we’re going to tackle a
permutation that requires a larger skill set, and certainly more practice. But before we can make the filling, we have
to understand the crust. The following
recipe is for two 9-inch pie pans.
Consequently I usually make 10-inch pies, which are a bit larger than
standard, so I always make this recipe and reserve about 1/3 of the uncooked
dough for later (read: giving to my dad and wife to eat raw). What can I say, bigger is better! The following is an incredibly standard
recipe for pie dough.
PIE DOUGH
2 1/2 cups all-purpose flour
2 ½ teaspoons salt
3/4 cup really cold lard (I’m not condoning the
use of shortening)
3 Tablespoons really cold unsalted butter, sliced
into small cubes
Ice water (about ¼ cup)
1. Begin by combing the flour, salt and butter
cubes in a food processor. Pulse a few
times (3-5) until butter is incorporated.
2. Next add lard and pulse again until mixture has
a mealy texture (3-5 times).
3. Turn on food processor and add the water slowly
(but not too slowly!) until the dough comes together.
4. Pull off your excess 1/3rd, and pass
to wife for a snack. Lightly flower the
remaining portion’s exterior, form into a disk, wrap in plastic wrap, and place
in the fridge for 30-45 minutes to rest.
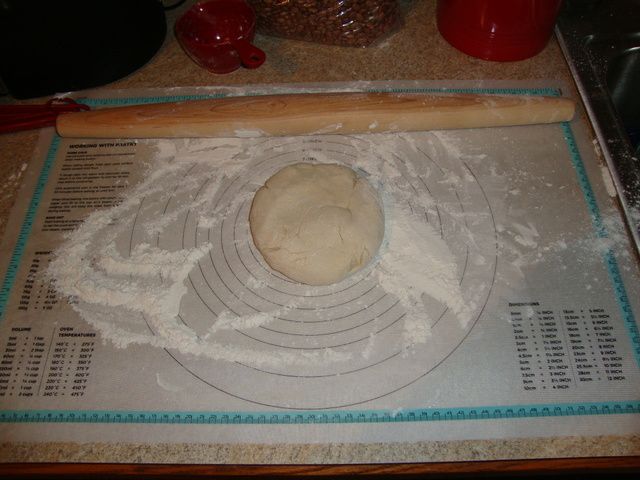
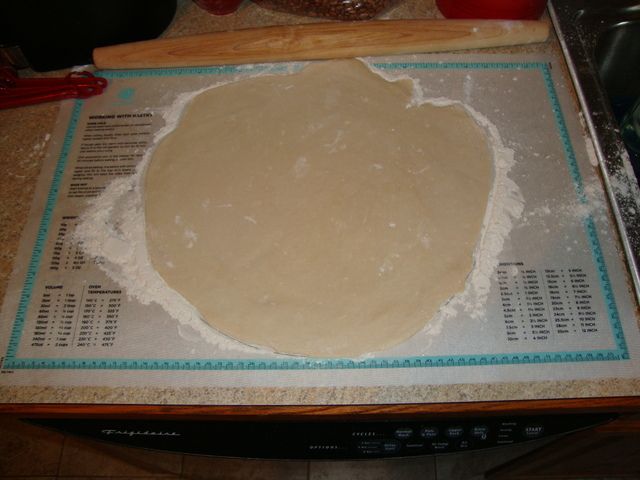
5. Remove dough from fridge and using a rolling
pin roll out until the edge goes a few inches beyond the size of your pie
plate. Make sure your hands, work
surface, and rolling pin are lightly floured to avoid sticking and tearing!
(VERY IMPORTANT!) Overworking your dough
will make it gummy, and be sure to keep it as cold as possible, this will
maintain flakiness!
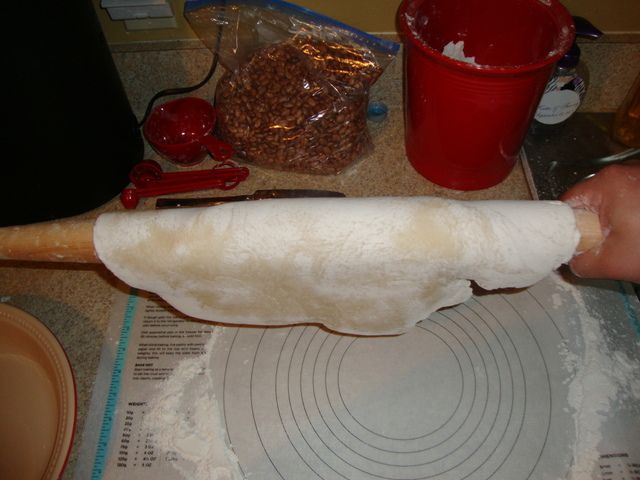
6. Once dough is the proper size, gently roll up
on your rolling pin, and unroll into pie plate.
The best analogy I can think of is those old rolling window shades you
used to snap up in school to annoy your teacher.
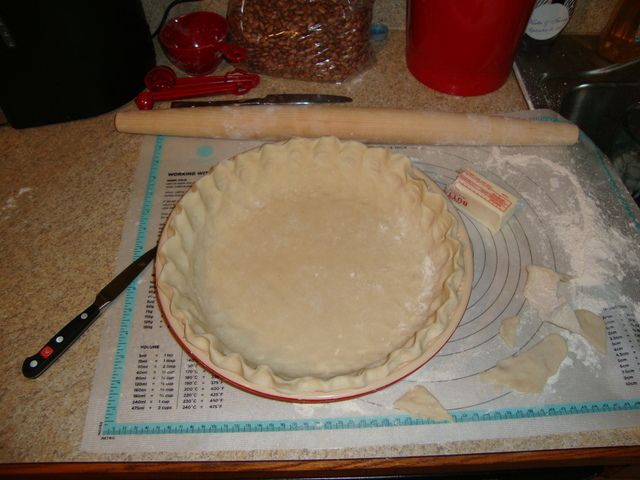
7. Cut edges to fit, and crimp as desired (I’m
still not that good at this, but you can bet your britches when I master it I
will put something here!)
As you can see, I still need more practice. Still tastes great!
8. Follow recipe to complete pie. For this recipe the crust will need to be
pre-baked in order to ensure a dry and flaky crust. Without this step the liquid filling will
make the crust soggy. Yuk.
To Blind-bake your pie crust:
1. Pre-heat oven to 425 degrees. Poke some holes into bottom of crust with a
fork to vent.
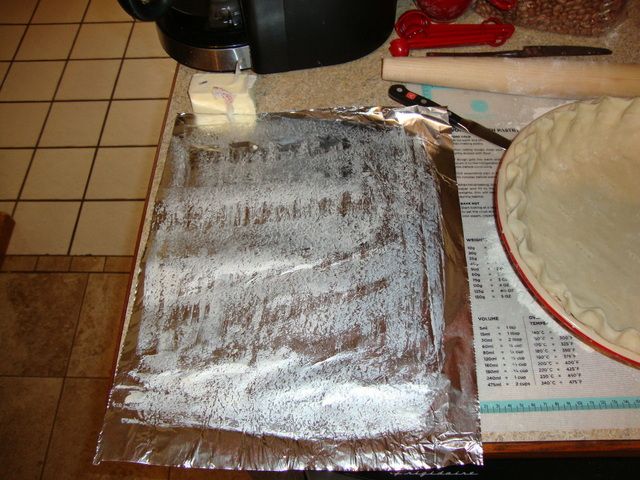
2. Butter one side of a piece of aluminum foil
that is large enough to cover entire crust.
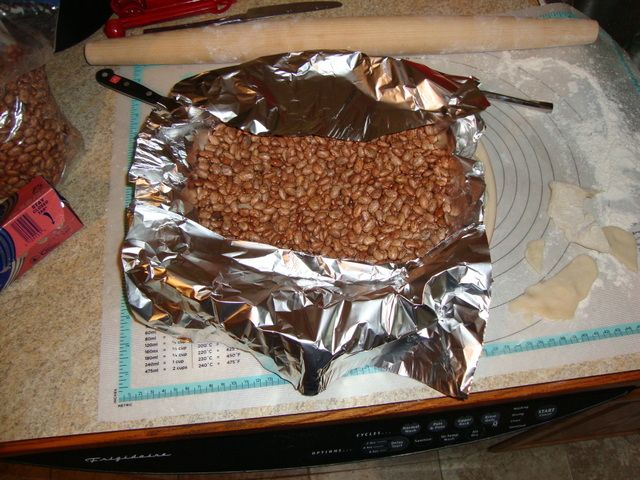
Place inside with butter-side down, and then fill with some sort of
bake-able weight. I have a bag full of
dried pinto beans that I’ve been using for years. Cheap and easy.
No, this is not pinto bean pie....
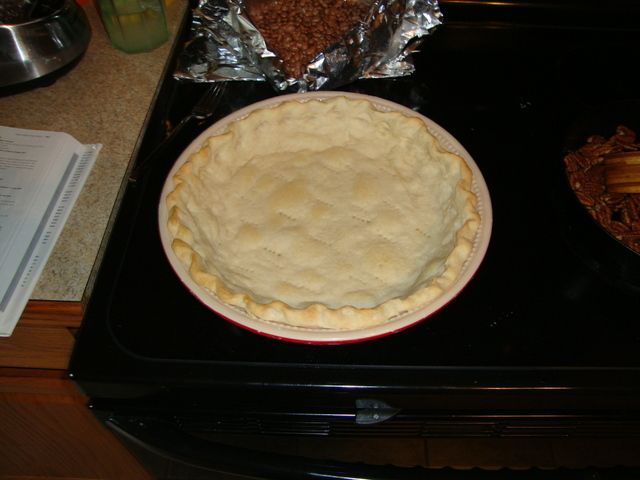
3. Bake for
15 minutes with beans in place, and then remove beans by simply removing the
aluminum foil. The foil will cool down
almost instantly, so quickly tear it into strips and cover the crimped edges of
the crust. This will prevent them from
browning too much. Return to oven for
another 5 minutes.
4. Let cool completely before filling pie.
And now for the deliciously sweet pecan filling
(which can quickly be whipped together while your dough is resting in the
fridge. See step 4 above):
PECAN PIE FILLING
5 eggs
1 ¼ cups brown sugar (Use light or dark depending
on your preference, I liked a combination of both)
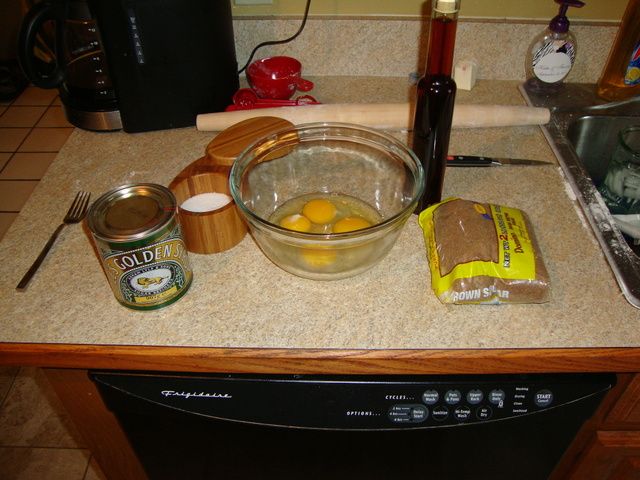
1 Cup Golden Syrup (More on this later)
6 Tablespoons butter, melted
1 ½ teaspoons vanilla extract
½ teaspoon salt
2 ½ cups toasted and spiced pecans (recipe to
follow)
1. While
your oven is pre-heating to 375 degrees, whisk together the eggs, brown sugar,
golden syrup, butter, vanilla extract and salt until homogenous.
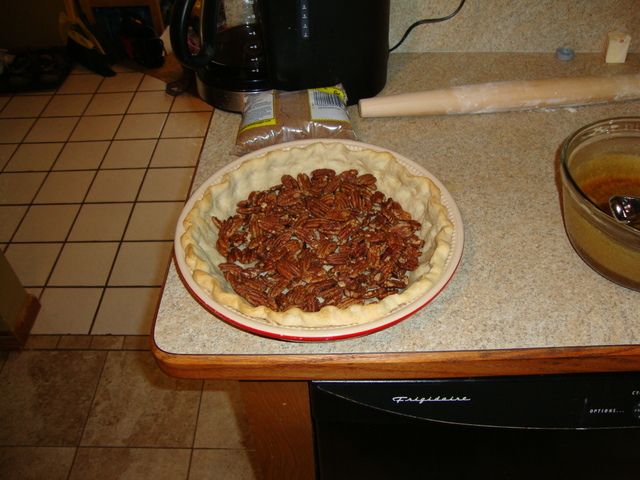
2. Spread
pecans evenly inside prepared crust, and slowly pour syrupy mixture over
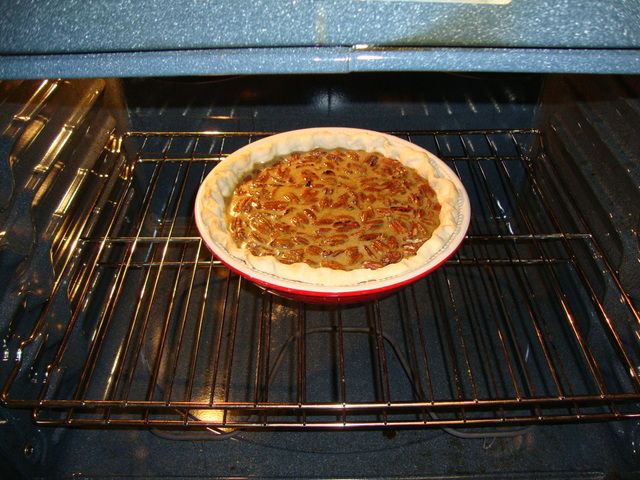
top. Believe it or not, the pecans will
float on top of the mixture, creating that lovely layered effect that is a
trademark of classic pecan pie. Who
knew?
3. Bake for
35-40 minutes or until the outside is set and the center is still slightly
wobbly. Be careful! While your pie may not look at all done after
30 minutes, an additional 5 minutes goes a long way. This pie can go from perfect to overcooked
quickly.
See! They do float! Nobody ever told me that secret.
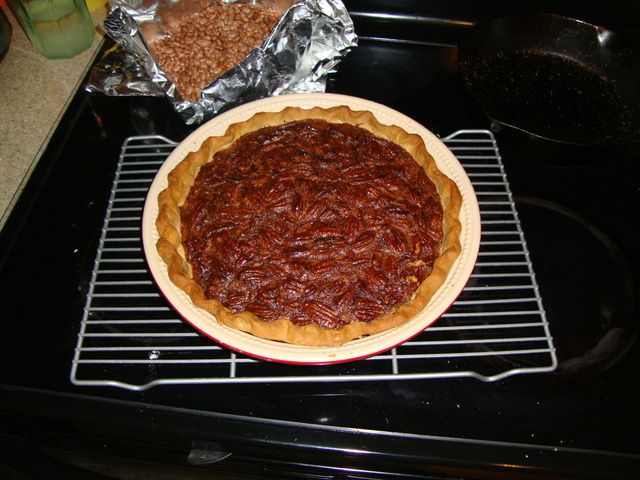
4. Let rest
for 2 hours or so until cooled and set.
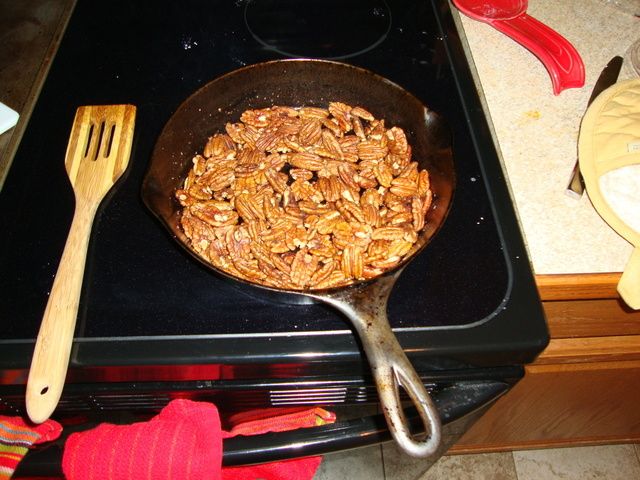
For the toasted and spiced pecans, I simply tossed
the pecans into my cast iron skillet with a teaspoon of white sugar, a ¼
teaspoon each of cinnamon and cumin, and a tiny dash of salt. Toss over medium-high heat until the nuts
have developed their flavor and begin to smell toasted, around 5 minutes. This adds additional depth of flavor to the
nuts and really awakens their… nuttiness.
There’s no better word.
Pecan pie wasn’t something I discovered until
recently, but have since become a huge fan.
The amazingly sweet filling plays the perfect foil to the earthy and
toasted nuts, both in flavor and texture.
Put that inside a rich and flaky crust and I’m in heaven, a destination
you won’t reach with the pie from your grocery store.
And for the golden syrup mentioned above? This ingredient is much more popular in Great
Britain where it is sold as a by-product of the sugar refining process; much
like molasses is sold here. In
comparison to the traditional clear corn syrup many people prefer to use in
their pecan pie, the golden syrup brings a much greater depth of flavor to the
party. It can often be found in the
international section of your local supermarket, unless you live in Cincinnati,
in which case you should go to Jungle Jim’s. :-D
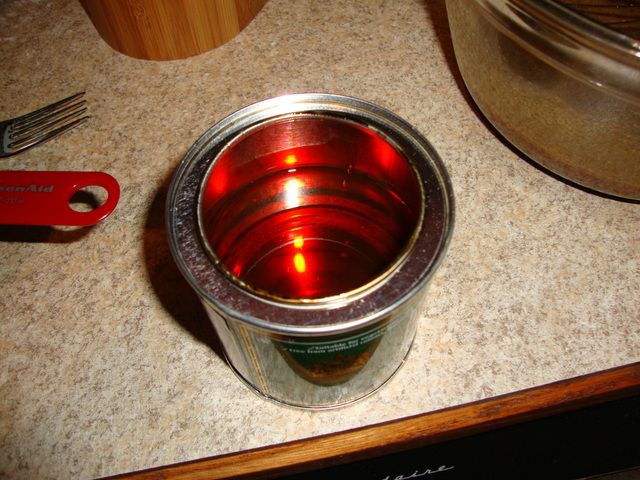

Stickiest.Stuff.Ever. But oh so delicious.
So that about wraps it up for this (long) entry. Let me know what you think! I realize this entry took forever to prepare and get made up. Life happens, but believe it or not I already have several more entries prepped, and should shortly be on the way, pending any currently unforeseen disasters (you never know whats right around the corner.) And as always, don’t forget to like me on
Facebook at www.facebook.com/handsoncuisine,
and follow me on twitter @HandsOnCuisine. Happy eating!

No comments:
Post a Comment