Side note: if anybody can explain to me the significance of the hats all those letters wear I will gladly give you a nickle, or maybe I'll make you flan.
Quite simply, flan is a basic custard that has a soft liquid caramel sauce drizzled over the top. What's neat about the dish is the caramel is prepared before the custard, and lines the inside of the cooking vessel. Just before serving the container is flipped over, simultaneously releasing the custard and caramel cascades over the top. The resulting presentation is quite impressive, and requires little or no accompanying garnish. Furthermore, flan does not necessarily need to be prepared in a individual-sized portion. It can conversely be made in a large, decorative pan (think flattened Bundt pan), and sliced like a cake. It is also quite versatile, allowing you to add a wide selection of flavors to the caramel. A simple splash of cognac, Grand Marnier, lemon juice, raspberry preserves, whatever your imagination can muster, to the caramel proves flan to be a veritable chameleon in your repertoire.
Custards have a reputation for being tricky. Any why shouldn't they? There's so many rules and techniques; beating the eggs and sugar until "pale yellow and thickened," tempering the mixture, cooking in a water bath, done when jiggling just right. With all the jargon and gray areas it becomes quite apparent how custards earned their reputation. In actuality all that is really needed is a solid ability to follow directions and move quickly yet carefully... well that and maybe some of my tips!
Hardware
2 quart heavy-bottom sauce pan
Chopstick
Whisk
2 large mixing bowls
Ladle
Large fine mesh sieve
8 ramekins -or- flan mold
Large roasting pan à la Thanksgiving Turkey
Tea kettle
Software
Caramel
2 cups granulated sugar
4 tablespoons water
Custard
4 cups heavy cream
1 cup granulated sugar
1 cinnamon stick
2 large/3 small vanilla beans
6 large whole eggs
4 large egg yolks
1/8 teaspoon salt
* This recipe can easily be halved. With something this good, I always er on the side of making too much... I've never had to throw away flan!
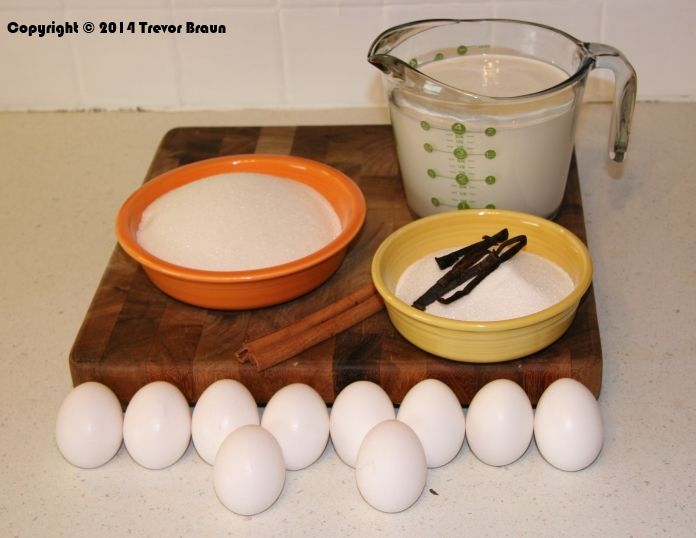
PART I: Making the caramel
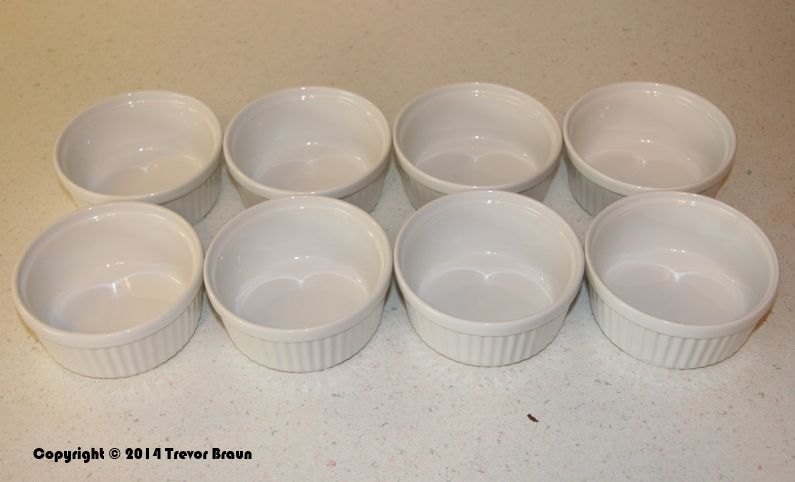
Step 1: Make sure all ramekins are clean, dry, and prepared for use. This is an important first step, as things can move rather quickly later in the process.
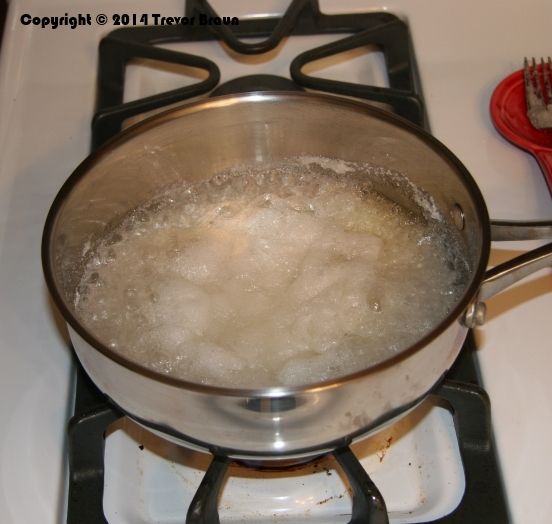
Step 2: Combine sugar and water in the sauce pan over medium-low heat. Stir to incorporate the water, and then leave alone. The water helps to dissolve the sugar and kick-starts the caramelization process. It will have entirely cooked off by the time this process is completed.
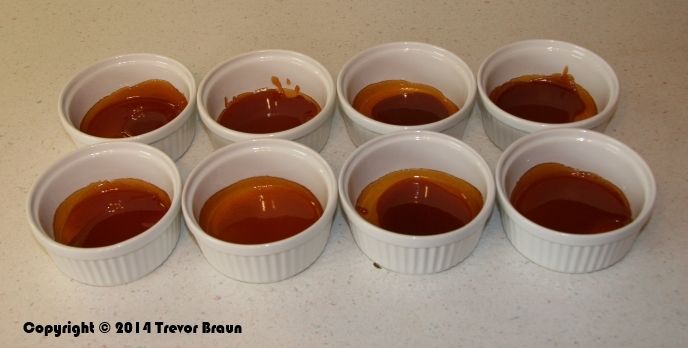
Step 3: Continue heating the sugar until it liquifies and turns a dark amber color. Upon reaching this stage, immediately pour roughly 1/4 cup of the caramel into each ramekin. Immediately tilt and turn each ramekin once it is filled to coat the sides of the container about 1/4 of the way up the side. Work quickly, as this caramel hardens with each passing moment.
Interjection: This step is misleading. Almost never does it go that easily. As the sugar cooks it will go through stages based on its temperature until it hits that magic dark amber caramel that we are looking for. Generally caramel recipes tell you to not stir your mixture, as it can introduce rogue sugar crystals that will cause the whole batch to recrystallize. This frequently happens anyway. It will seem you are about half-way to caramel goodness, and in a matter of seconds the mixture will seize up into solid sugar disc. All is not lost, so don't get frustrated! You will most certainly see some browning here and there, but simply wait for the layers underneath to re-melt and you will be on your way. If this does happen, I will often use either a chopstick or back of a fork to help break up some of the larger sugar chunks so they re-dissolve quickly.
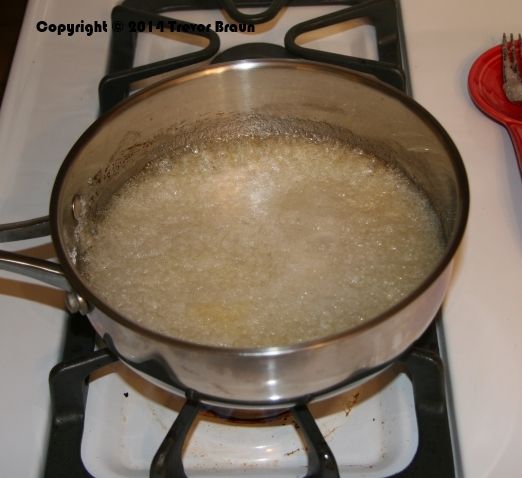
Beginning to take a light brown color
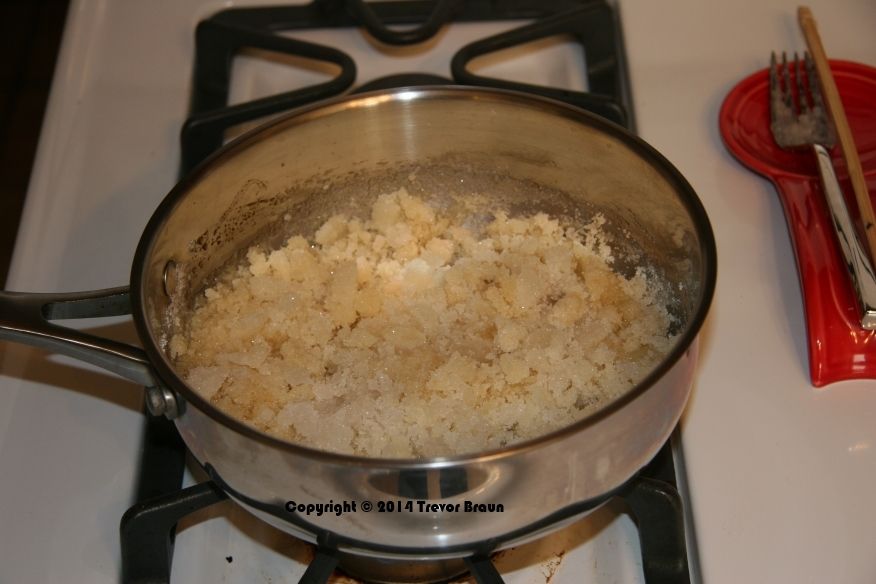
Seized up.... all is not yet lost!!
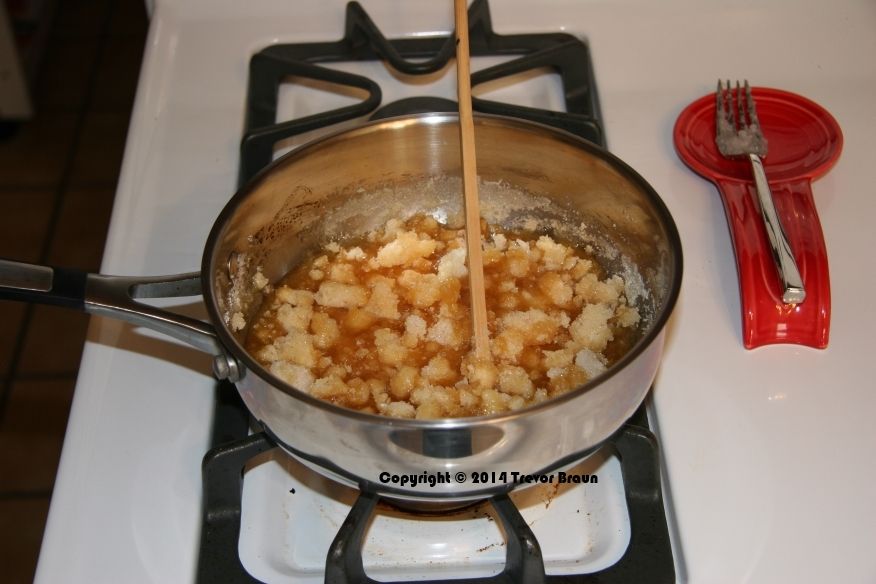
Not by the book, but practical. Busting up sugar chunks with a chopstick.
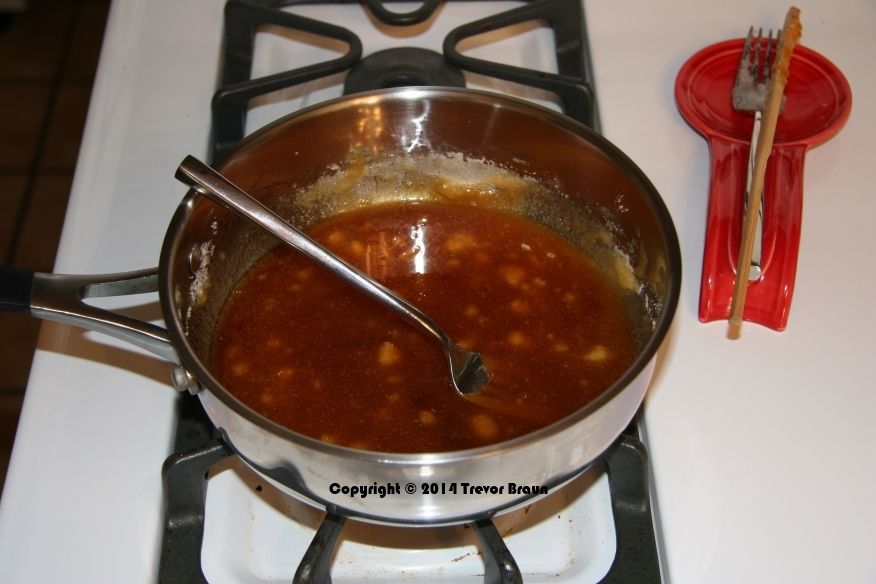
Almost there! Be careful!
Note: Once you approach the desired dark amber color you must realize there is roughly 30 seconds between awesome caramel and a disastrous smokey mess. DO NOT WALK AWAY! The caramel will quickly go from clear, to light brown, to dark amber. The next color in this rainbow is black. Rock solid and smokey black. Unless you want to spend the next 30 minutes chipping away 2 cups of rock-solid burned candy while having a smoke alarm blaring in your ears, I suggest you remove the pan from the heat as soon as it reaches the desired color.
Final note: You might wonder how solid, hard caramelized sugar in the bottom of a ramekin turns into luscious caramel sauce. Something looks wrong, but I promise it is not. During baking much of the caramel melts and remains liquified, just how we want it. There will be some residual hard sugar in the bottom of the ramekin after serving, which easily blasts away with really hot water.
PART II: Making the custard
Step 4: Set oven to pre-heat at 325 degrees Fahrenheit. Split vanilla beans and scrape the seeds from the pod. Combine heavy cream, vanilla scrapings and pods, and cinnamon stick in a clean saucepan and bring to a careful simmer over low heat, stirring occasionally. Be care the mixture does not boil.
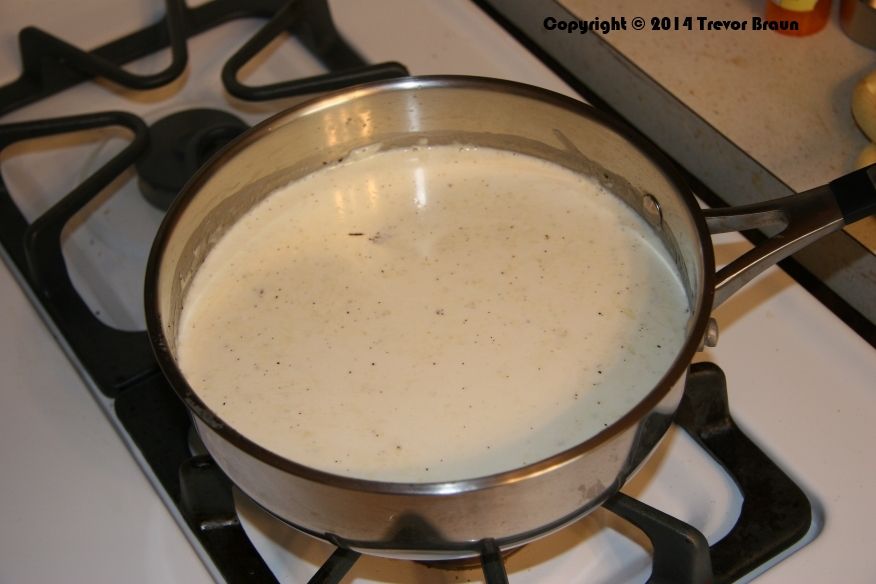
Come simmer away, come simmer away, come and simmer away with me.
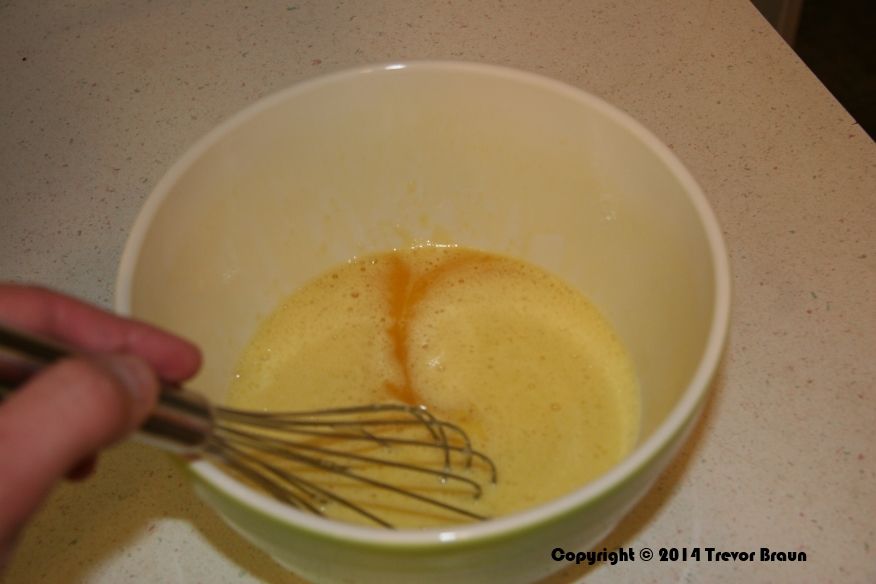
Step 5: While the cream mixture is coming to a simmer, combine the sugar, whole eggs, egg yolks, and salt in a large mixing bowl. Beat thoroughly with a whisk until "pale yellow and thickened."
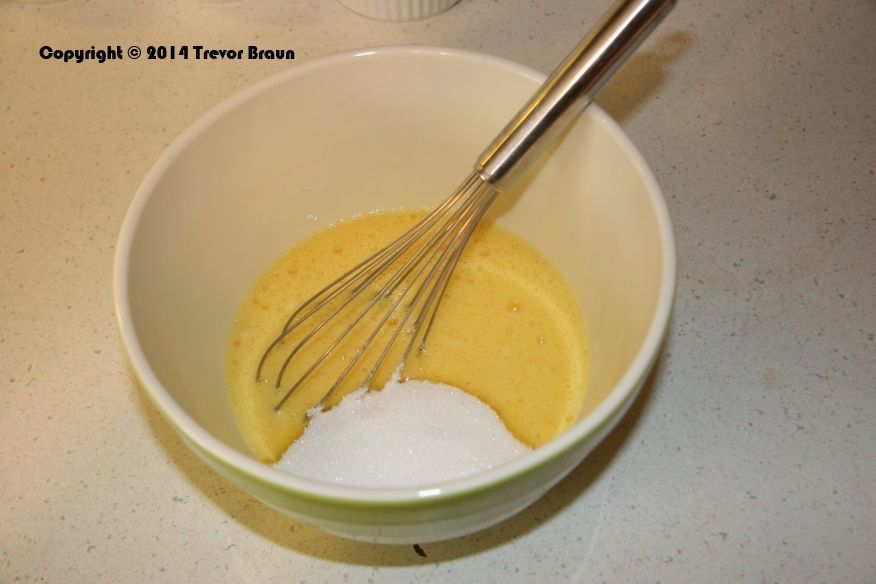
Note: Almost every custard recipe you'll find uses the words "pale yellow and thickened" during this step, and I have found it to be somewhat misleading if not problematic. In all custard recipes it is extremely important that the eggs are completely and thoroughly beaten to a homogenous mixture. Not doing so will result in a lumpy, uneven custard. So, I always interpret this wording to mean beat the heck out of it so that its very smooth. You'll know it's smooth enough when the mixture almost appears ribbon-like when you pull the whisk from it. You will almost always get a light colored layer of foam on the top, more on that later.
Step 6: Once the cream mixture has come to a simmer, use it to slowly temper the eggs. While constantly whisking the eggs, slowly ladle in the hot cream. Once a few additions have been made you may pour in the remaining volume. This step ensures that the temperature of the eggs is slowly increased in order to avoid curdling.
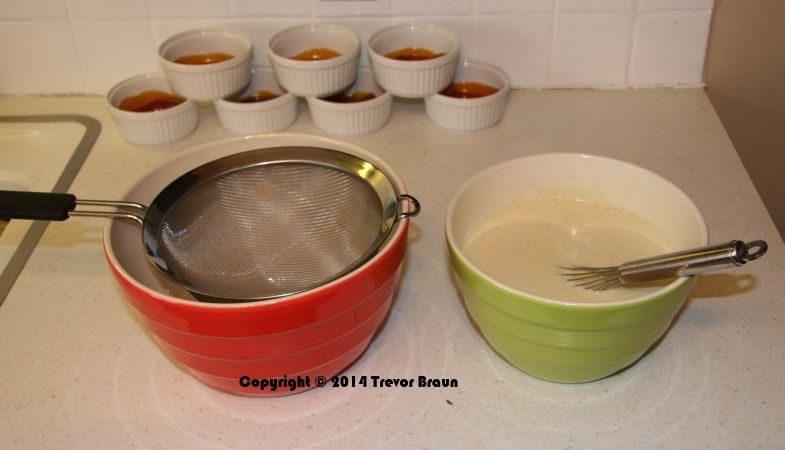
Preparing to strain
Step 7: Lay a large fine mesh sieve across the second large mixing bowl, and pour the entire custard through. This will filter out the cinnamon stick, vanilla pods, any curdled egg, and any bits of chalaza (that white stringy substance inside eggs, pronounced kuh-lay-zee). This step is critical in ensuring a velvety smooth custard. Put a kettle full of water on to boil.
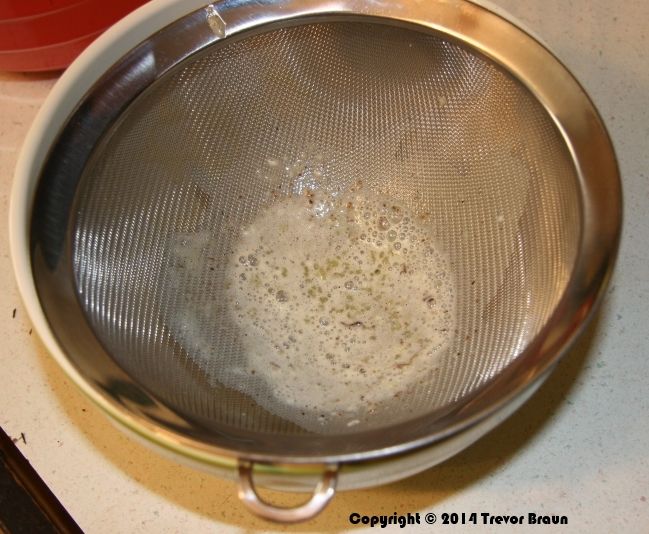
Nobody likes lumpy custard!
A word on foam:
The intense mixing used to thoroughly combine the eggs and sugar can generate a foam that sits on top of the custard. If this foam is still present on top of the custard when it is baked, the cook will experience a disappointing deflation of the foam leaving undesirable results. Most of the time this foam has subsided by the time the custard passes through the sieve. If there is foam after straining, simply spoon it off the top and into the drain before adding to ramekins.
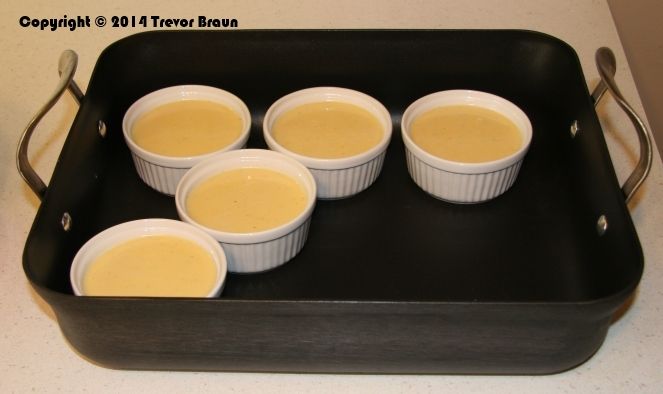
Step 8: While you are waiting for your water to boil, prepare the roasting pan by setting most of the ramekins inside. I like to leave one or two out until after the water bath has been created. This allows a bit of room for any splashing water as it pours from the tea kettle. Once the ramekins have been set inside, dole out the custard evenly between all the of ramekins.
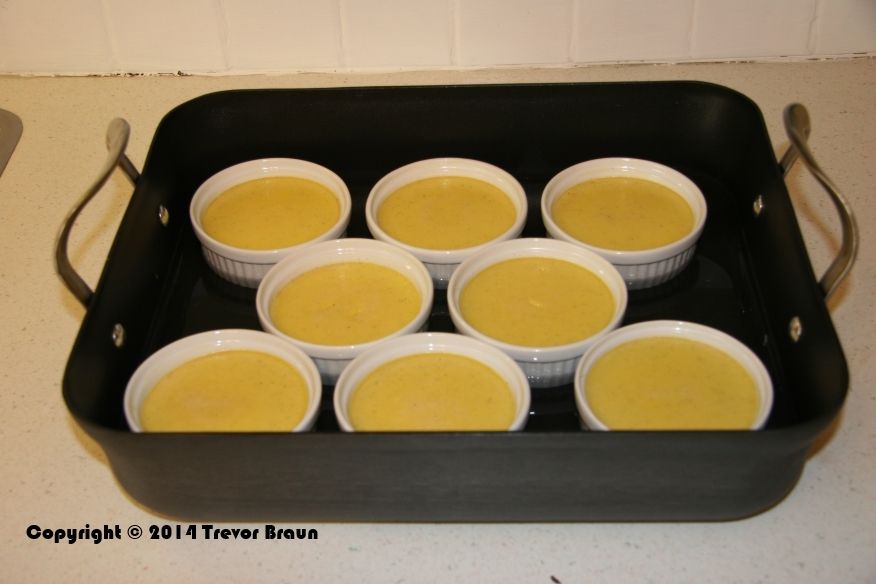
Step 9: When the water is boiling, transfer the the roasting pan and ramekins into the preheated oven. Add the boiling water to the roasting pan so that the water level is roughly half way up the side of the custards, being careful not to get any water into the flan. Once the water has been poured, add the remaining ramekins to the roasting pan.
Step 10: Bake for 30 to 50 minutes, until custard is set around edges yet still a bit jiggly in the center. You can test for doneness by inserting a paring knife in the center of one of the custards, about half-way deep. When removed the knife should be mostly clean.
I can hear you now, "A 20 minute range?!? You've got to be kidding me!"
I kid not! There are a million variables that all determine when your custard is done to perfection. What was the temperature of the custard when it went into the over? How long did you let it sit after straining? How long was your oven door open? What size ramekins are you using, or are you using a flan mold? See what I mean? All of these things contribute to custard doneness, that's why a visual cue is used.
Step 11: Carefully remove the flan from the oven, and allow it to rest on the counter in the water bath until room temperature. Then cover with plastic wrap and refrigerate overnight.
Step 12: When ready to serve, run a paring knife around the rim of the ramekin and place a small plate atop. Holding firmly invert the ramekin, causing the flan to fall onto the plate. You will sometimes need to firmly grasp the ramekin and plate and together smack against the counter to cause the custard to fall out. Be careful to not break your ceramics! Remove ramekin and serve!
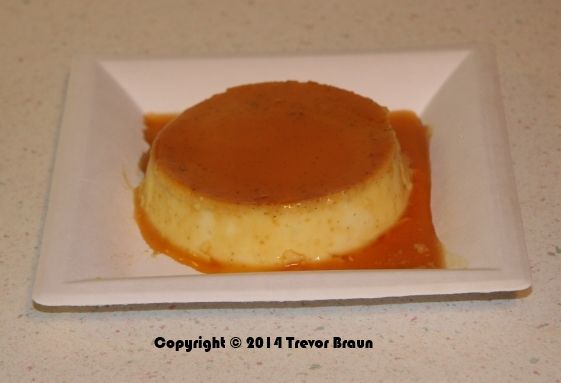
Yeah, yeah... I know I'm not the best photographer. This is a blog about cooking, not photography.
